


Page last Modified:
Wednesday, February 15, 2006 12:41:33 PM - Views

Installing a New EuroSport Exhausts system
So after getting my 2L done, I quickly realize that the exhaust system on it (despite the 4-2-1 setup) really did not flow enough. so I ordered a new Eurosport A1 Downpipe, a New High Flow Cat and a new Eurosport Cat back Exhaust with muffler. all in all, I am very please with everything, except the Muffler fit with the trailer arm pipe was to
to get them to over lap and was forced to use my local "custom shop" to get a new pipe fitting (as it is split on the sides and could not mandrel it properly to fit the pipe, after that little problem, everything fits nicely. Oh yeah the tailpipe Eurosport give you with the exhaust goes from 2" to 3" tailpipe.. that is so long so I had to temporarily chop it down to a proper size until I get the tips done the way I want (back to custom shop next week I think :) The sounds is a nice soft rumble, no rasping what so every and no sheep sounds either (i.e: BRAAAAAHHH) from this exhaust, a very nice smooth rumble sound that indicates power flow but not rice in any ways...
Total spending... 129$ for the A1 Downpipe, 90 for cat, and 200 for the cat back system.. well worth it.
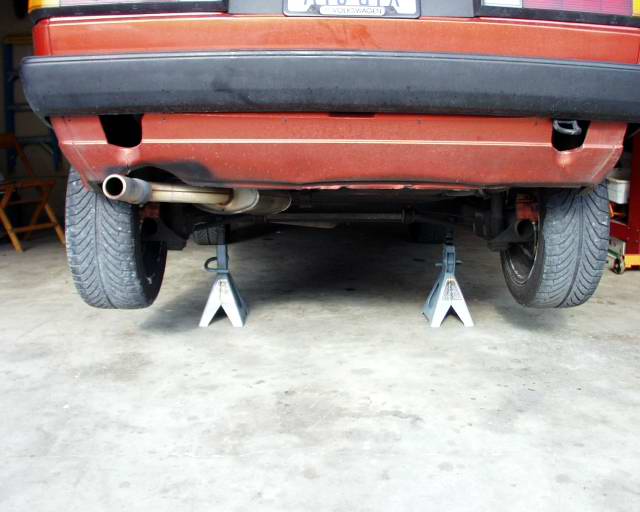 |
Jack the car by the center of the rear axle and sit 2 car stand on each side, this will make it safe to work under and give you enough room to do all your work. |
 |
First we need to get rid of the old exhaust... |
 |
Since my old exhaust was a mismatch of pipes welded together, I decide for the easy way out.. cut it! I chose my spot where I wanted to cut it and used a 4" cutting disk on a grinder, and cut the pipe in front of the axle. |
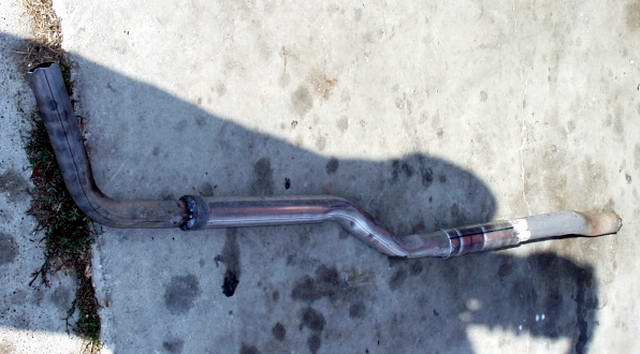 |
After separating the front part (yes it was welded unto a rabbit downpipe in the front) with the grinder again here is the horrible exhaust system I had... various sizes of pipe and welded all over the place. BLAH! |
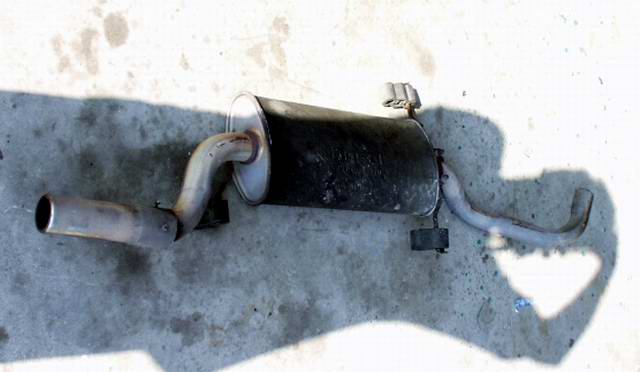 |
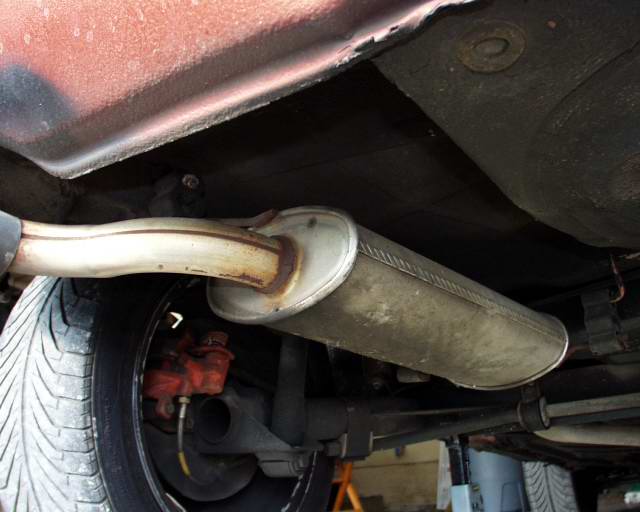
unhook the muffler from the hangers, and here is the 7 years old BOSAL OEM muffler... |
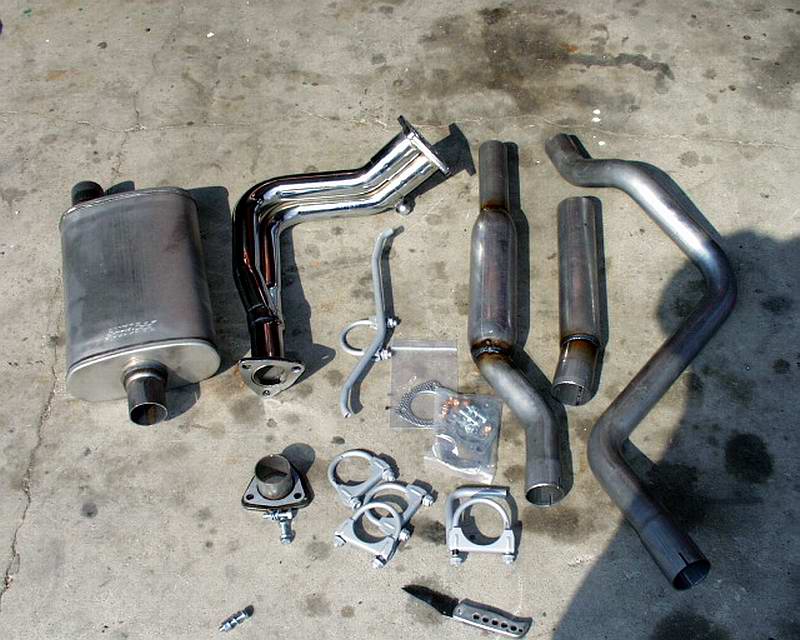 |
Now here is the Eurosport A1 Kit, all hardware included, even gaskets (more on that subject later) to install it. I chose the 2" aluminized cat back system because I live in texas...not much rain or snow :) |
 |
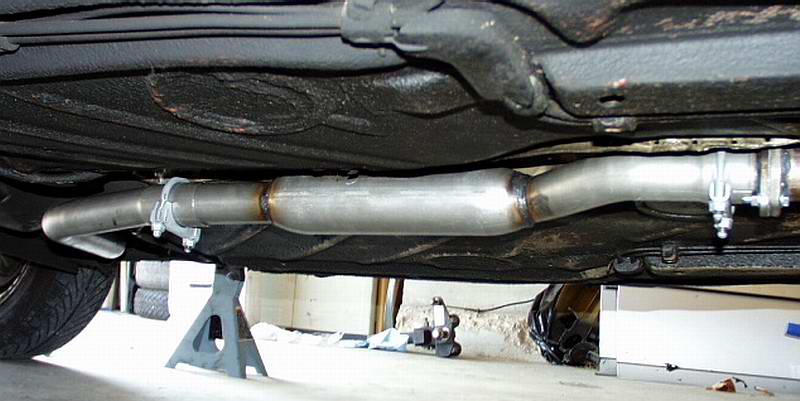
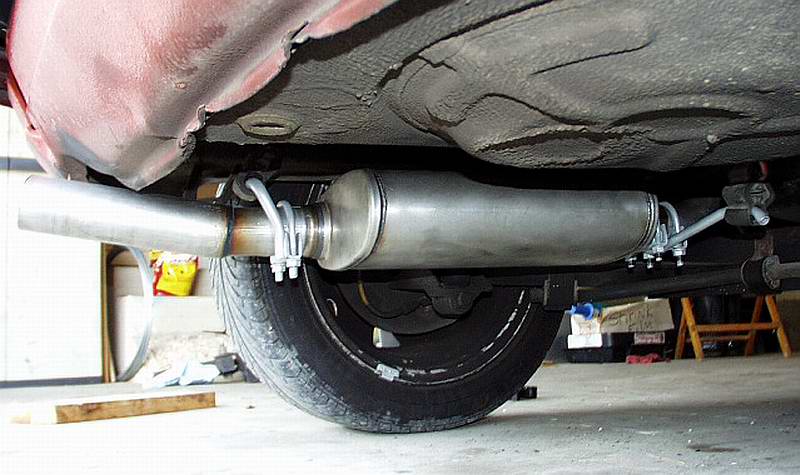
Here is a view of the way the muffler is routed. |
 |
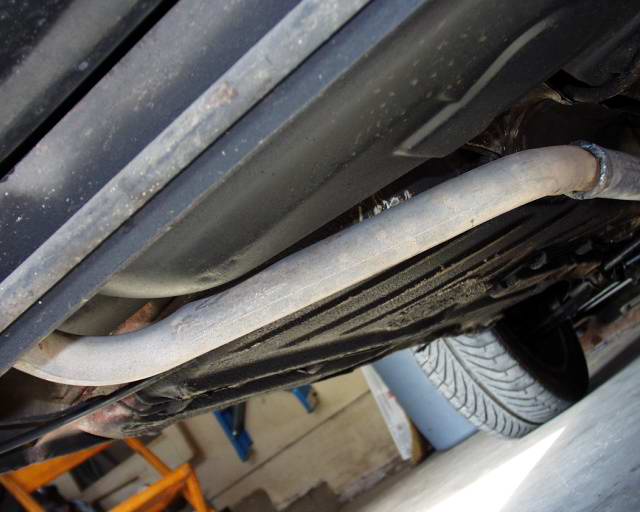
Close up of previous shot. |
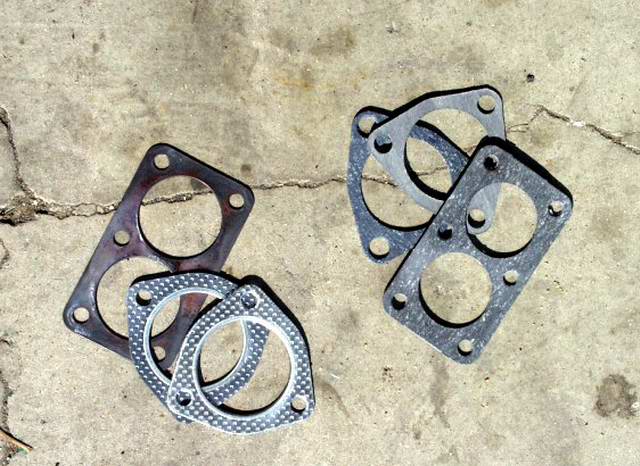 |
Now on the left you see my metallic downpipe gasket with after market flange
metallic gaskets, on the right, the paper (waxed?) gaskets included in the
kit.. now I am not saying these are not good, but... I like metallic gasket
parts, last longer, cost little, and I wont need to change them as often as
the paper gaskets (they dry up and become brittle after a few short years
and eventually leak!) my suggestion spend the extra 7$ for the metallic based gasket and make a professional long lasting install. |
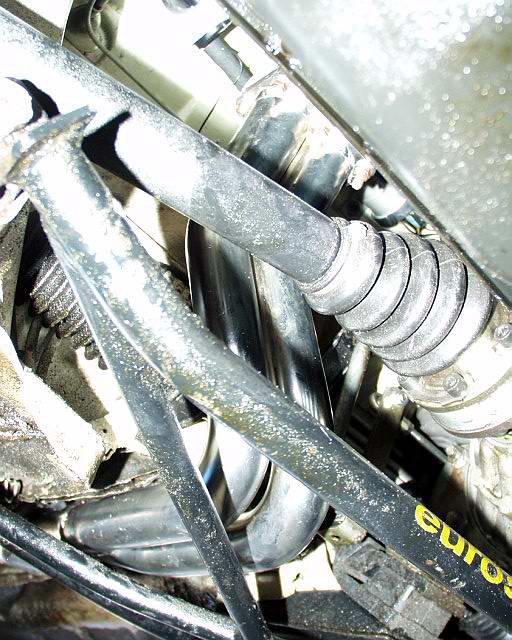 |
after tightening the sensor hole plug (mine is in the manifold) , I installed it in place,Here is the best shot I could get you of the Eurosport A1 Downpipe installed (yes that is a eurosport sub-frame, and no I did not remove it to install this downpipe in place (Please note the downpipe is also the flex pipe as well, ask me how to put it in Ill tell you where to start, turn and pivot to get it in...lol) |
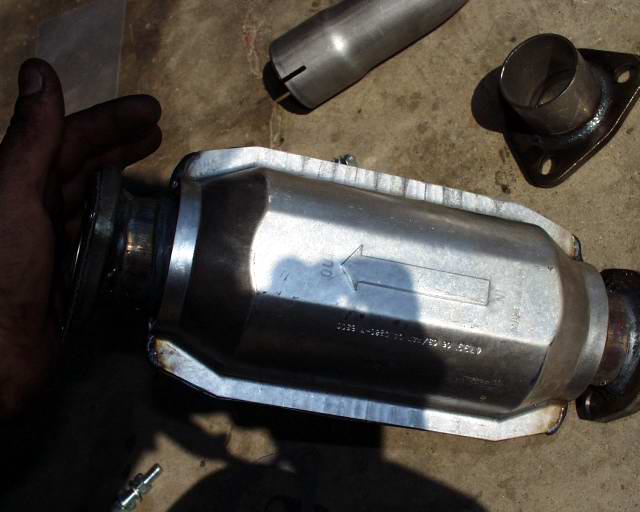 |
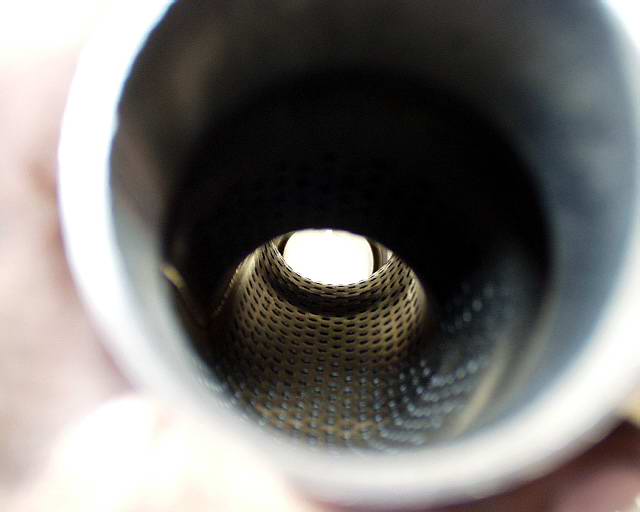
High flow Cat, this picture only important note is the
arrow atop it... this is the important direction of flow when you install
it... :) PS: some cat have a bolt on the side for a heated o2 sensor, do not forget to make sure it is TIGHT... |
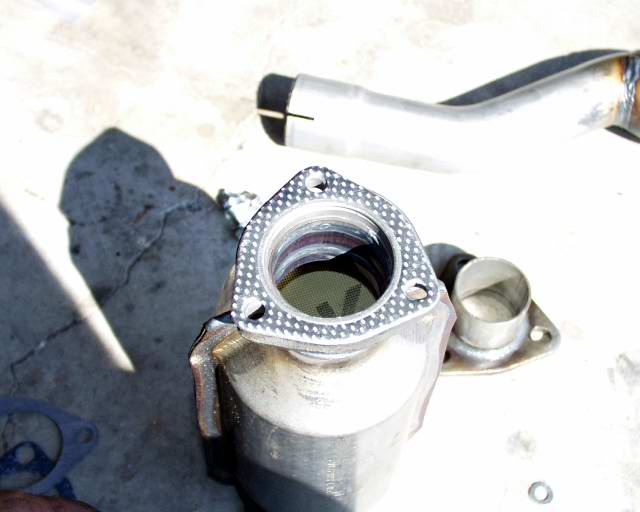 |
this is a picture of a dry fitting of the metallic gasket unto the EXIT side flange side of the cat ( see previous picture to figure what side I am talking about ) |
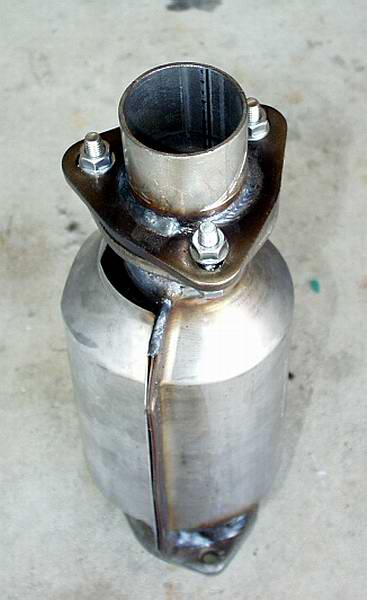 |
Eurosport though of all the parts needed, including the bracket to install on one end of the catalytic converter to make the install simple and clean unto your car, do this before crawling under the belly of your car, make things easier. |
 |
Armed with bolts and last gasket to be used, I installed the pre-assembled cat to the flex pipe end of the downpipe. |
 |
this part is a little tricky, the resonator mid pipe and the trailing arm pipe fit together but you got to twist things around to make them fit, so do NOT clamp down anything from here on until you got everything in place okay? |
 |
last the hanger/clamp design from Eurosport make the install of the muffler in place a cinch. trimmed the long ass tail pipe. drop the car... turn the engine on and rev it a couple of time... pats yourself on the job you did, and enjoy the nice sounding exhaust! |
[Back to Top] [Index] [VWC Forums] [Contact/Donate]
Remember, If you need help with any of these technotes -Contact Me!
We are not responsible for damages caused while following the directions in these pages. These pages are for informational use only.
This site is in no way affiliated with or endorsed by Volkswagen of America or VW AG. Volkswagen and the VW logo are registered trademarks of Volkswagen
AG. To visit the official Volkswagen sites go to Volkswagen Germany
or VW of America.
All original images and content Copyright © 2001-2005 Eric Soltwedel, Tim McConnell and vintagewatercooleds.com, all rights reserved.
Not all of the pages comply with the new standards yet. I have the links here for debugging purposes.
![]()
![]()
![]()
About the Standards and Scripts