


Page last Modified:
Wednesday, February 15, 2006 12:41:35 PM - Views

Leaking slow hard to crank sunroof? This technote will show you how to replace the seal and remove, adjust, and lubricate the sunroof to get it working again.
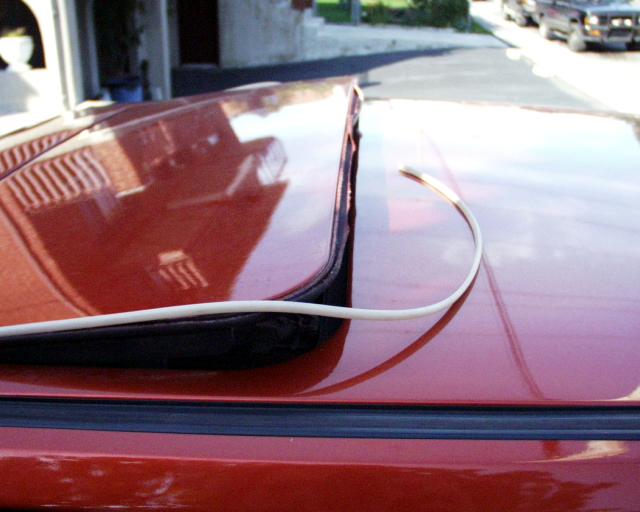 |
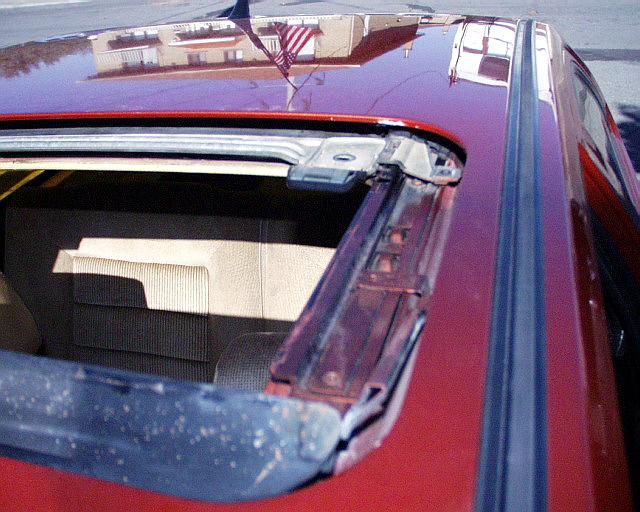
Here's a blown seal. Rip it out, and leave the roof in tilt position. |
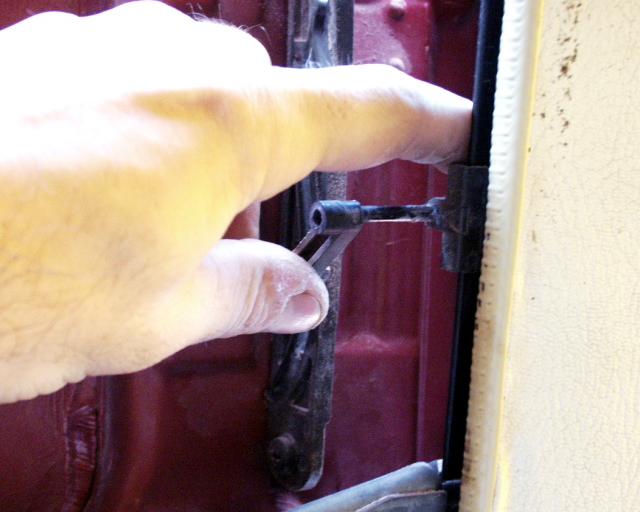
| The book says to get a special tool - but you can just use a coat hanger and create a hook that looks like this, it will let you to grab the spring in the next step | |
 |
gently push on the inner cover of he sunroof - you should find a spring attached to the edge of the cover plate, use the hook to release it, and drop the cover plate down. |
 |
From inside of the car, reach up and slide your inner fabric panel backwards into the roof, don't worry - it take a little force - it's held in the front by 4 clips. |
 |
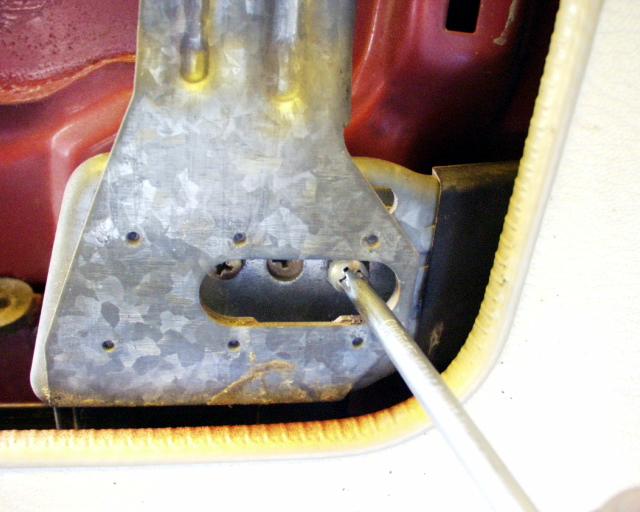
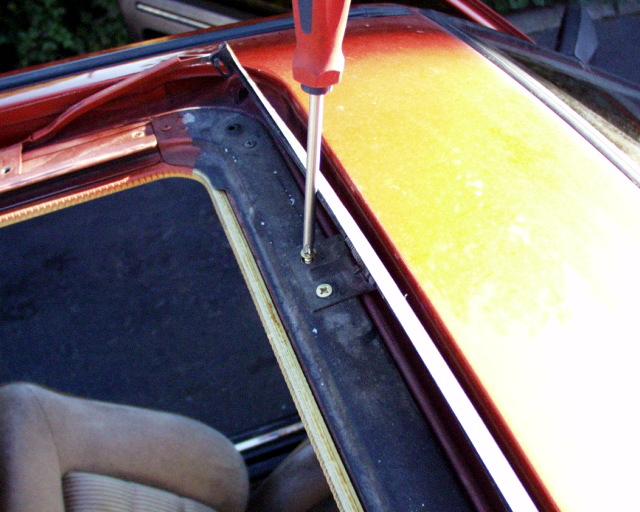
This picture shows the real seal, there is one circlip
holding that shaft in the hole, gently using a pair of long nose pliers,
slip the circlip out. Once you have done both sides, pop the shaft out from
the bracket. (Adjustment note: the large Phillips screws on the top left is you rear adjustment sunroof screw.) |
 |
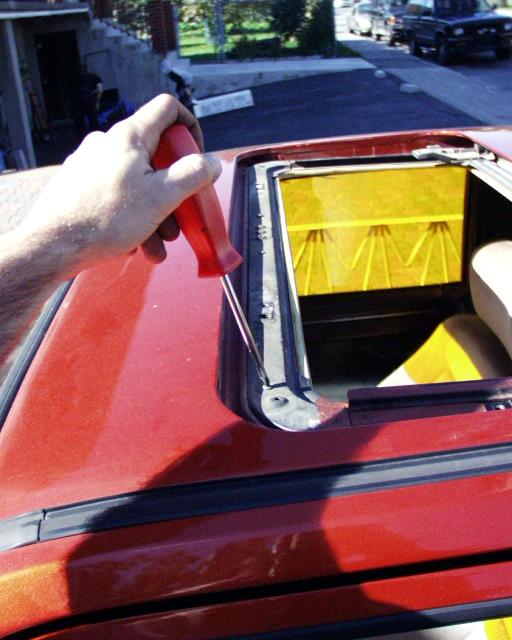
The sunroof is attached to the rack with 4 bolts in the front. Remove
them. (Adjustment Note: The middle screw you see in this picture is your front adjustment sunroof screw) |
 |
Slide the pin from the center bar and remove center bar, and pop the sunroof off of the car. |
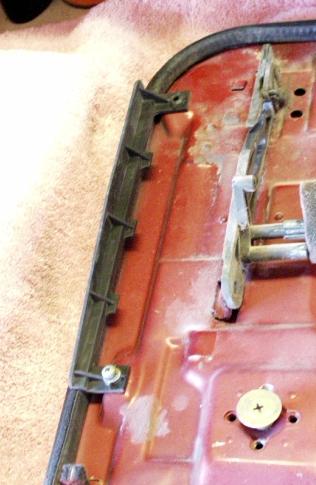 |
The small thin bracket seen over the seal will have to be removed on each side of the sunroof before you can remove the old seal. |
 |
Pry the old seal out, then clean the gutter. |
 |
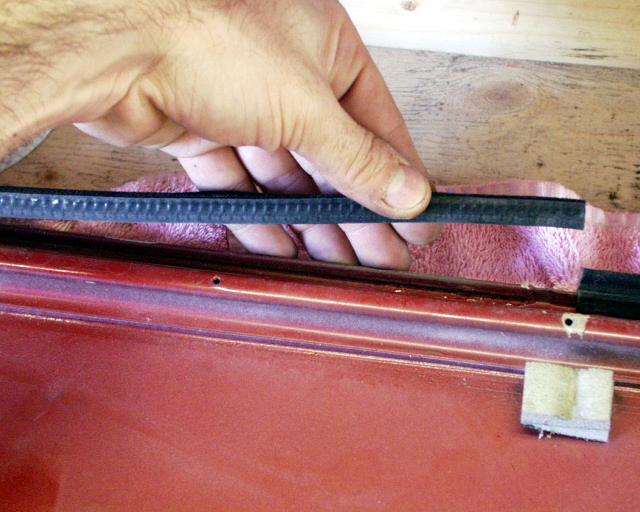
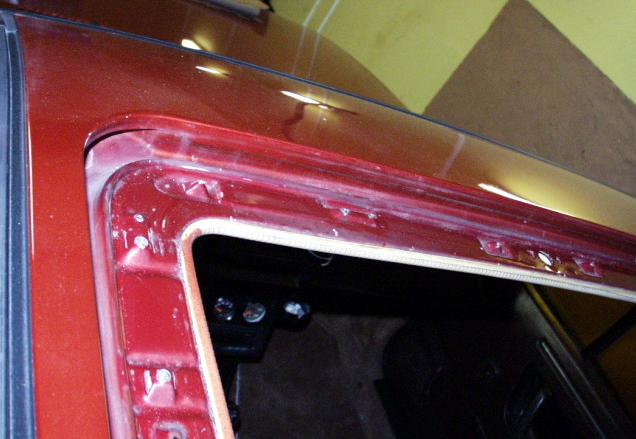
Press the new seal into place - Get the A1/A2 seal at Parts4VWs.com ~ $80 |
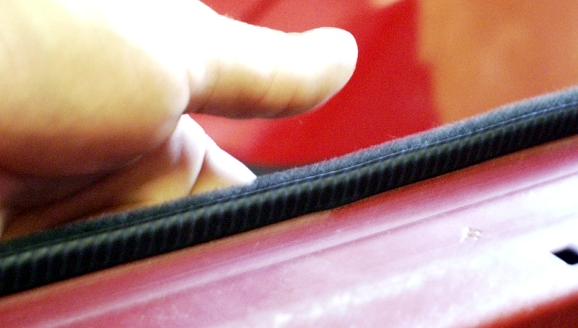 |
This picture is to remind you to push the new seal completely in until it reaches the inside of the sunroof. |
 |
The seal was a tad long (1/2" too long) and I used a pair of metal scissors to make the final cut. |
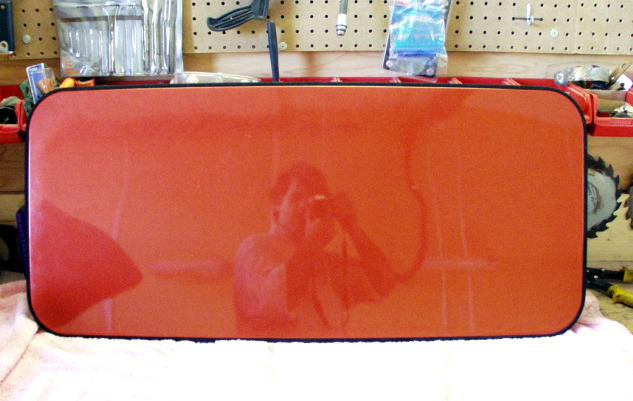 |
TADA! and here is the job done (after I re-installed
the 2 brackets in the sunroof. (You can see Patrick in the picture...he he) |
 |
1. Push rain tray into the roof, 2. Remove handle from mechanism inside
the car, 3. Slide the coasters into the roof, slide the tilting beam to rear
of sunroof area.
Remove screws in the pattern below. |
 |
remove the 4 screws that hold the wind deflector in place, then the 2 that hold the slider in place |
 |
Remove the screws that hold the front cable guide |
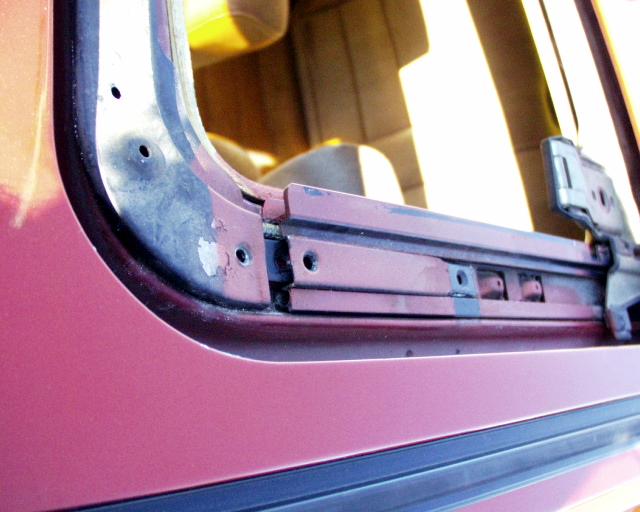 |
remove the last 2 screws, on each side of the front
rail, then remove the rear screw near rear edge of sunroof hole. now pop
that little plate you see here. Now - gently lift the cable guide rail and grab the rails and everything will come out. (2 person job) lay it all out on a clean area... |
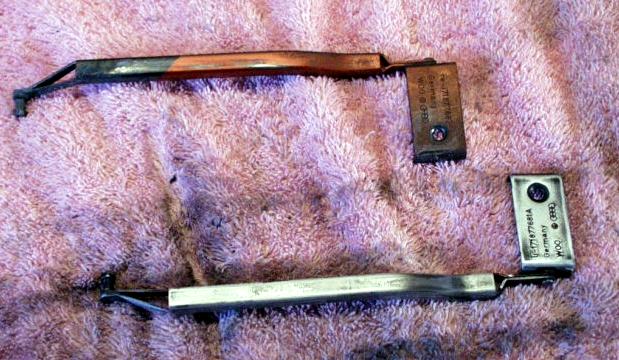
| Here's a picture of one rail cleaned... | |
| Another Picture... | |
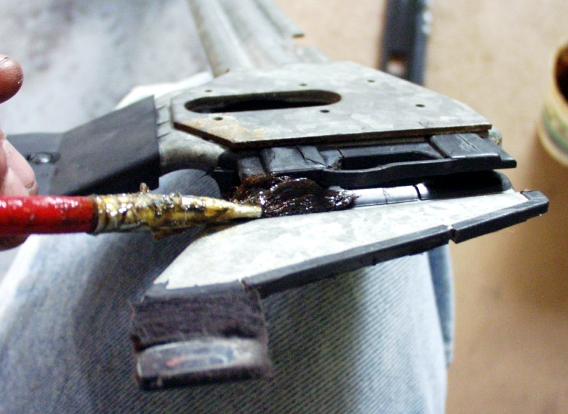
| Once you are done cleaning the rails out, apply a thin coat of grease, using a brush, then wipe most of it off with your finger; this leaves a nice functional thin coat. Too much will make it harder on cold days - and attract more dust. | |
 |
Both sides of the Inner rails have to be greased. |
 |
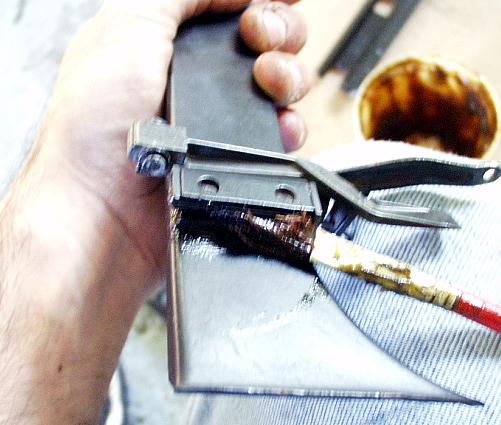
Now the side rail, only the upper rail needs it, The lower rail is just for the lining to slide in. |
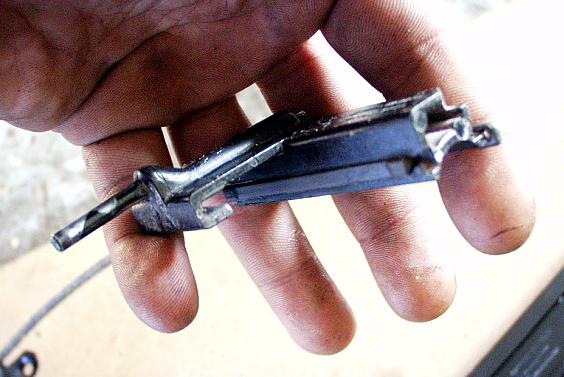 |
cable coaster - cleaned out, and in need of grease in the U shaped bracket |
 |
The tilting bracket requires greasing also - in the U shape bracket at each end. |
 |
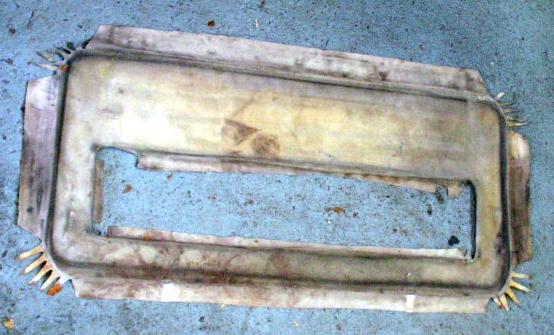
Grease the Rain tray too. |
 |
You can put a coat of silicon on the rain tray to make the water run right off of it and prevent corrosion. |
 |
This shows the wind deflector slides before and after cleaning them out. You can apply the silicon here too. |
 |
The sunroof fabric was really dirty. |
| Just incredibly dirty... | |
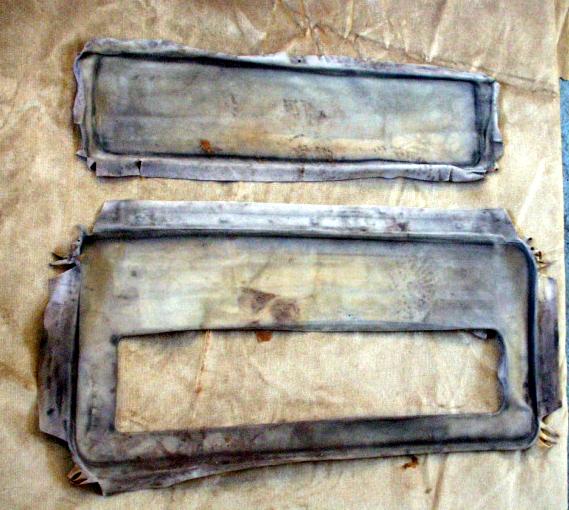 |
Using your old sunroof plates - you can make new fabric by cutting and using contact cement. |
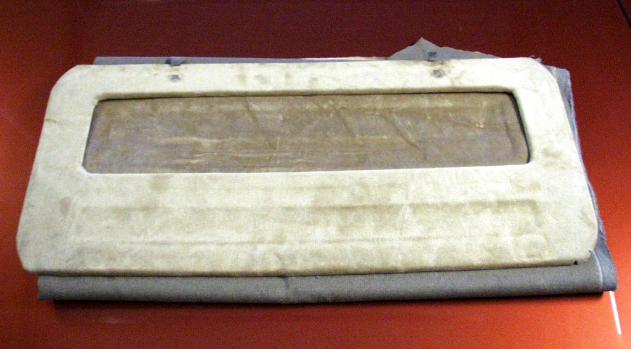 |
Here we have the final product. nice and clean. |
 |
Clean out the gutter and check for debris inside the roof. Reassembly is
simple:
|
 |
The final product. |
[Back to Top] [Index] [VWC Forums] [Contact/Donate]
Remember, If you need help with any of these technotes -Contact Me!
We are not responsible for damages caused while following the directions in these pages. These pages are for informational use only.
This site is in no way affiliated with or endorsed by Volkswagen of America or VW AG. Volkswagen and the VW logo are registered trademarks of Volkswagen
AG. To visit the official Volkswagen sites go to Volkswagen Germany
or VW of America.
All original images and content Copyright © 2001-2005 Eric Soltwedel, Tim McConnell and vintagewatercooleds.com, all rights reserved.
Not all of the pages comply with the new standards yet. I have the links here for debugging purposes.
![]()
![]()
![]()
About the Standards and Scripts