


Page last Modified:
August 15, 2007 :: 6:37 PM ET - Views

Assembly of the Megasquirt Unit
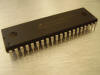
I chose to build Megasquirt I with PCB version 3.0 - it is currently the most common choice, and the Megasquirt I processor is less expensive than the Megasquirt II - but you can still upgrade to the MSII processor later. The version 3.0 board is more expensive than the 2.2 version - but it is more robust and flexible than the older version.
Please see the General Information page to see a section about choosing Megasquirt I or II or PCB V2.2 or PCB V3. You can also look at this page to decide if you want to built your own ECU, or buy a pre-built one.
Table of Contents
Megasquirt Stimulator
Megasquirt ECU
or, Return to the Megasquirt Table of Contents
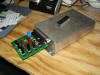
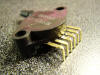
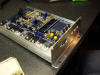
Megasquirt Stimulator
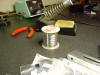
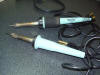
The stimulator is very easy to assemble. I highly suggest that you assemble this before you start on the main Megasquirt unit. If you have not soldered in a while - this is your chance to practice a little before you work on the more expensive main unit.
Here's a bunch of pictures of the assembly process...
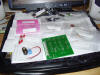

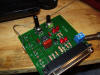

The stimulator gives the Megasquirt ECU power, and it also gives it signals from various sensors that you will have in the car. It needs a 12v power source. You CAN just use a 9v battery - but I used a 12v wall brick adaptor that was for an old scanner. mine was 1200mA - but you can use any one with more than 300mA for it to work.
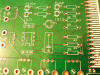
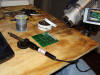
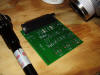
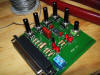
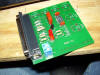
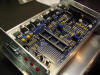
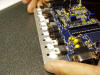
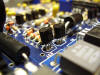
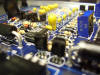
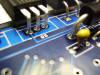
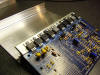
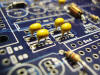
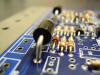
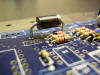
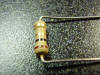
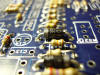
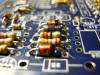
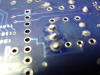
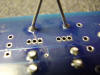
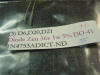
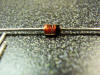
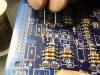
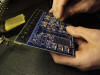
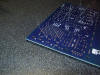
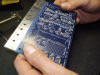
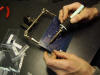
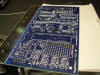
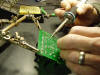
Megasquirt ECU Assembly
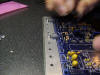
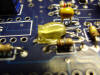
This is the main assembly - this requires a lot of soldering. There are many components.
Click a picture to enlarge it.
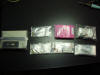
Basically - you just follow the instructions on Megasquirt.info for this assembly process. If you want to assemble this yourself, I HIGHLY suggest buying the kit from DIYautotune.com. It comes pre-labeled with all the components in little bags, and it makes it REALLY easy.
If you do not want to solder, then you can go back to DIYautotune and order a pre-assembled Megasquirt ECU, built and tested.
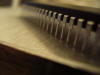
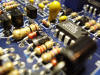
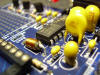
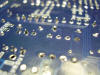


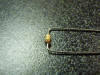
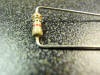

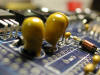
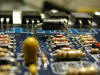
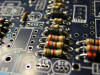
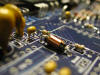
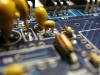
I went crazy with the Macro Mode in the Camera, so here's some wallpapers for you:
More to come VERY soon, Including a soldering tutorial!
Return to the Megasquirt Table of Contents
[Back to Top] [Index] [VWC Forums] [Contact/Donate]
Remember, If you need help with any of these technotes -Contact Me!
We are not responsible for damages caused while following the directions in these pages. These pages are for informational use only.
This site is in no way affiliated with or endorsed by Volkswagen of America or VW AG. Volkswagen and the VW logo are registered trademarks of Volkswagen
AG. To visit the official Volkswagen sites go to Volkswagen Germany
or VW of America.
All original images and content Copyright © 2001-2005 Eric Soltwedel, Tim McConnell and vintagewatercooleds.com, all rights reserved.
Not all of the pages comply with the new standards yet. I have the links here for debugging purposes.
![]()
![]()
![]()
About the Standards and Scripts