


Page last Modified: Last Edited: March 29, 2006 - Views

Clutch Replacement
*note, this can be slightly different amongst models.
Relavant Forum Threads: VWVortex Thread, VWC Forum Thread.
Buy the VWC DVD Technote - Clutch! $5 shipped! NOW AVAILABLE! |
|
 |
Buy the VintageWatercooleds.com/Tech DVD
version of this technote. This DVD shows all the steps we did in
this technote to replace my clutch. It will be shipped in the US Via USPS MediaMail to your home address.
Buy one now for
$5 Shipped!
The price breakdown is as follows: $1.59 for Media Mail Shipping. $0.60 /Disc for DVD-R. Jewell Case $0.20, labeling $1.00 = $3.39 COST. + time for editing and the project itself. |
Download PDF version of this technote... (NOT AVAILABLE YET!) |
|
 |
This file is Adobe PDF format. If you
don't have Adobe reader... |
Useful Part Numbers
Sachs 210mm Clutch Kit - Includes
disc, pressure plate, thrust plate and thrust plate retaining
spring.
(027 198 141 A)
Bolts:
(6) pressure plate to crankshaft
(N 902 061 03) M10x1x19,5
(9) Flywheel to pressure plate
(N 100 134 01) 12 point head M7X40X20
Seals:
Rear Main Seal
(068 198 171)
ETKA says - (068 103 085 E)
Gasket that goes behind rear main seal carrier
(026 103 161 B)
Input Shaft Seal
???
Push Rod bushing and Seal
???
Misc:
Release (throwout) bearing
(020 141 165 H)
Release Bearing Cover (Green cap)
(020 141 073 A)
Manual Adjusting clutch Cable
(531 721 335 C)
Use only Sachs clutch parts, new, not rebuilt. The clutch job is also a great time to replace a few other things. The engine mounts, Rear main seal, the clutch cable, the shift linkage parts and the CV joint flange seals are all good things to look into doing now.
|
Both of these companies make it easy to order the parts you need - Just get a clutch kit, a clutch install/bolt kit, and a clutch cable! Easy. |
|||
|
|
Parts4VWs |
|
GermanAutoParts |
Big thanks to Forum user The Nothing for some parts of the Article...
Big thanks to sciroccojim for his help and the use of his garage in this technote.
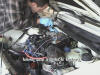
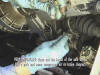
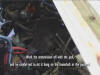
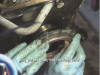
Getting stuff out of the way
Disconnect the negative battery cable from the battery before beginning..
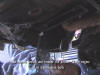
It is easily possible to do this job yourself, with no help. Use a couple of 2x4 lumber studs cut to length between the fenders (just INSIDE the fenders) over the valve cover (on A1s, you have to remove the air intake duct going to the throttle body to do this). Use a good chain between the head (ever wonder what that hole on the right end of the head was for?) and the 2x4s..
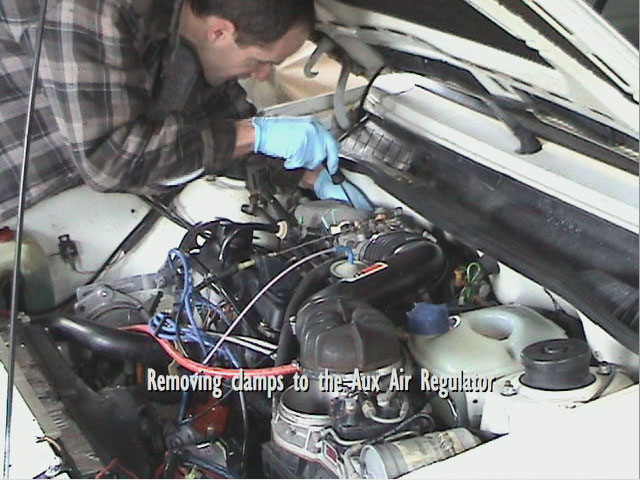
- Battery
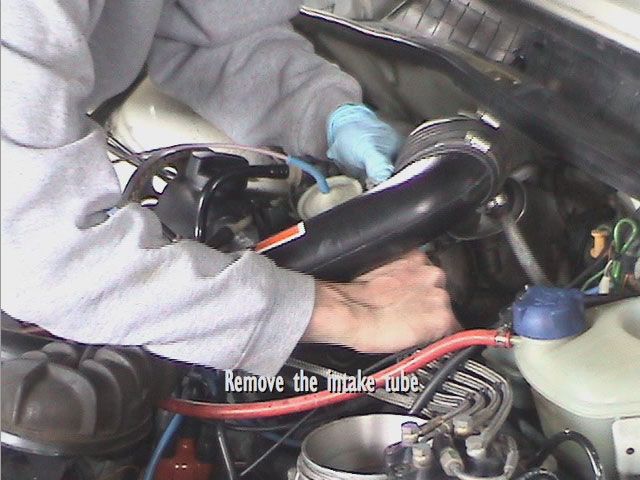
- Air intake tube
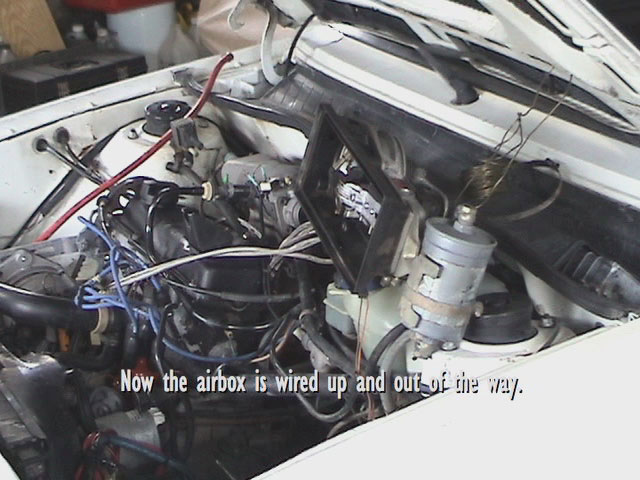
- wire the airbox out of the way
- starter
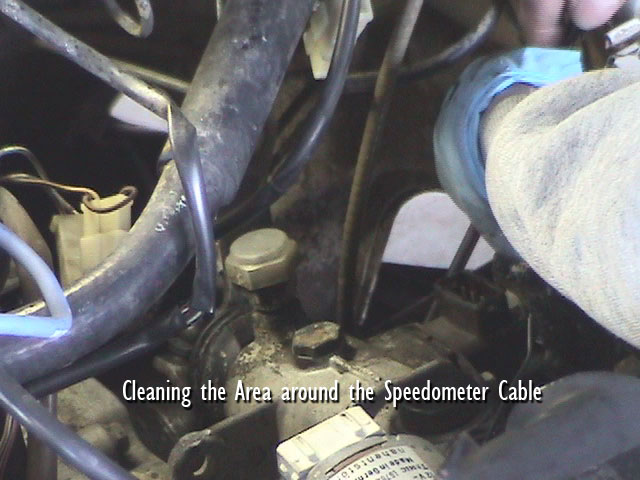
- Speedometer cable
- Reverse light wire


Let me tell you one more time - please do not forget the speedometer cable!! It's so often overlooked and then broken!!
If it's one of the early 2-part cables, you can unscrew it from the little black box at the firewall by the brake master cylinder and leave it attached to the trans. If it's not a 2-part cable, disconnect it from the trans and plug the hole with a CLEAN rag or a paper towel something else to keep out the dirt. We decided to remove the cable from the transmission - even though I have a two part cable - so that everyone can follow along.
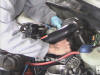
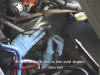
Removing Axles, starter and Transmission
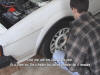
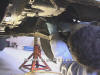
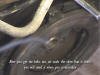
At this point, crack loose your axle nuts - they are 30mm hex. You will need a big breaker bar and possibly a cheater bar (Gas pipe!). These things have almost 200 foot pounds of torque!!
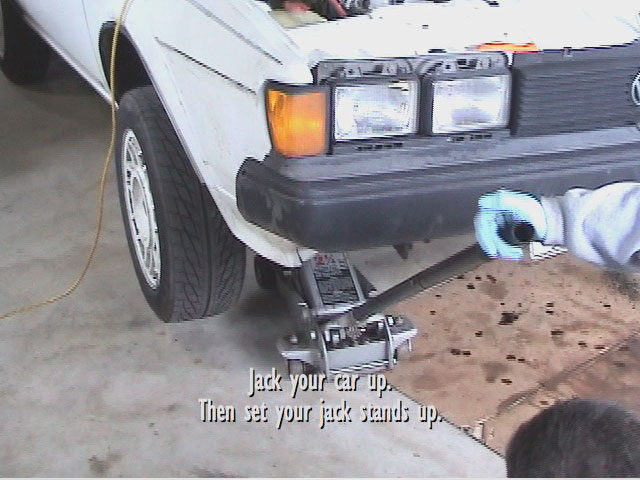
Make sure the car is well supported (use jack stands). We put the jack stands under the "Donut" things right behind the front wheel wells, so that we would have a lot of room to work forward under the engine.

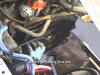
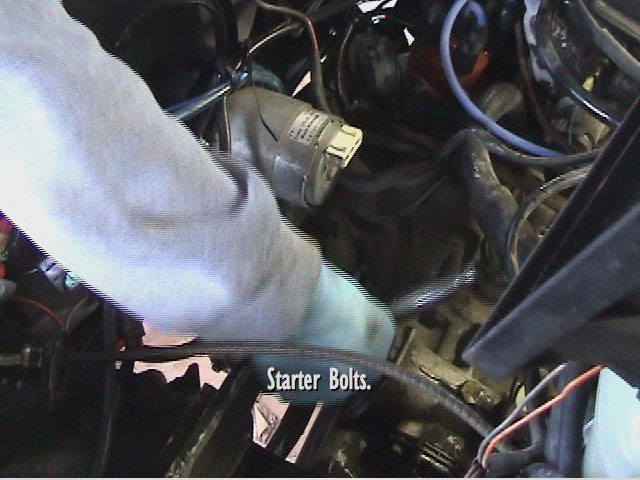
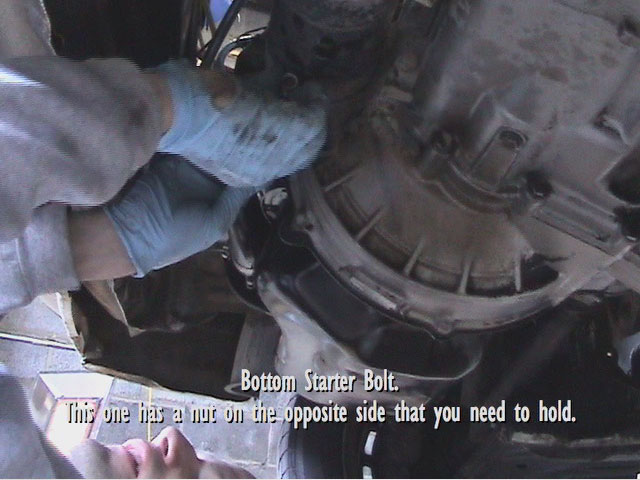
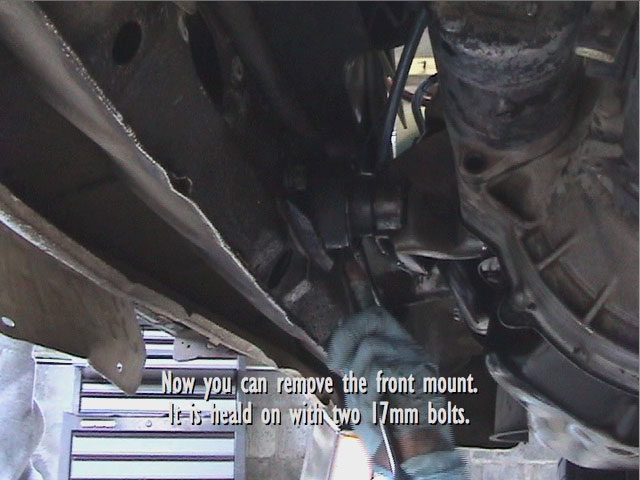
Next, Remove the starter. On the most A1 cars, there is no special tool needed to remove the starter, just an 8mm Allen and a metric wrench to remove the battery cable. Later cars may have 12 point bolts holding the starter on. After you remove the starter, go ahead and remove the front engine mount. It is held on with 17mm bolts to the chassis.
Now is a great time to drain the old transmission fluid. It will make the transmission lighter (well, a LITTLE bit), and reduces the possibility that you will pour some onto your garage floor. You need a 17mm Allen wrench to get the transmission plug out.
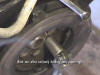
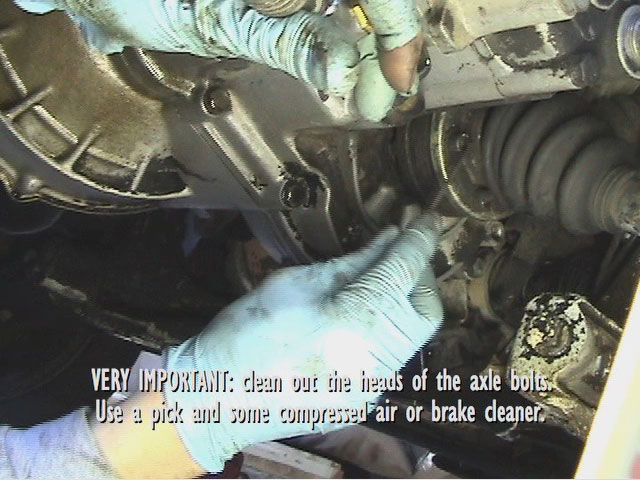
Now you can start removing your axle bolts. On some older cars, they are Allen - I think 8mm. My car and most VWs will have 8mm 12-point bolts. It is VERY important to clean out the bolt heads before you try to remove them. Mud, oil and dirt gets in there and makes it extremely easy to strip the heads out. We used a pick and some compressed air. You could also use brake cleaner.


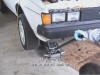
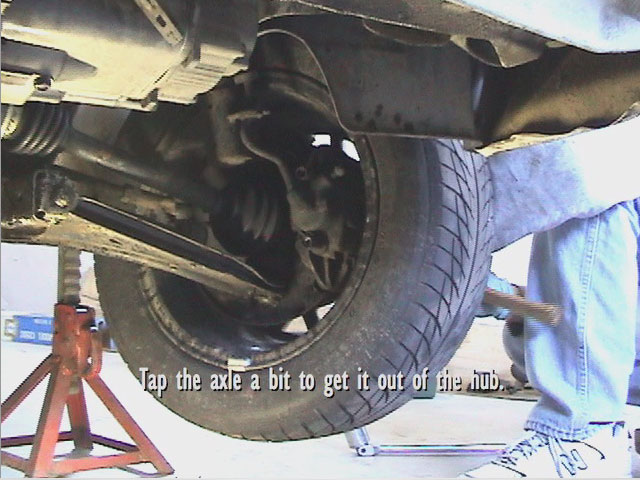
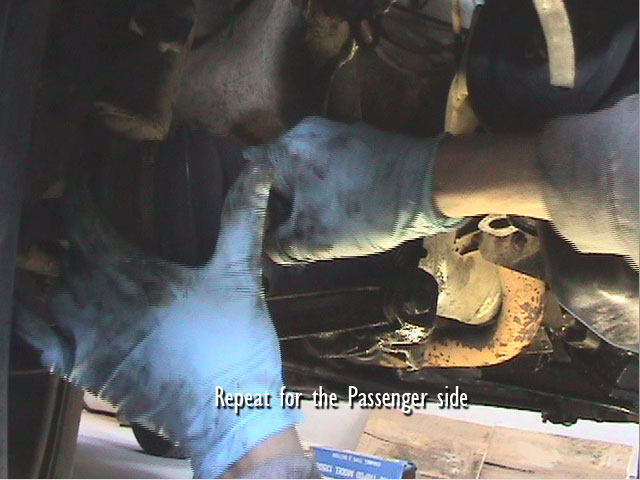
Now it's time to remove the axles. Finish removing your 30mm axle nuts, and give the axles a quick tap to help them come out of the wheel hub. If you remove the axles completely, DON'T roll the car on its wheels AT ALL without first reinstalling the axles. If you do (even for a foot or two), you will destroy the front wheel bearings. You can work the axles out without removing the ball joints or struts at all. Just slide them up and over the sway bar ends (if you have them).

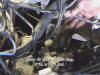
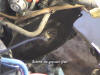
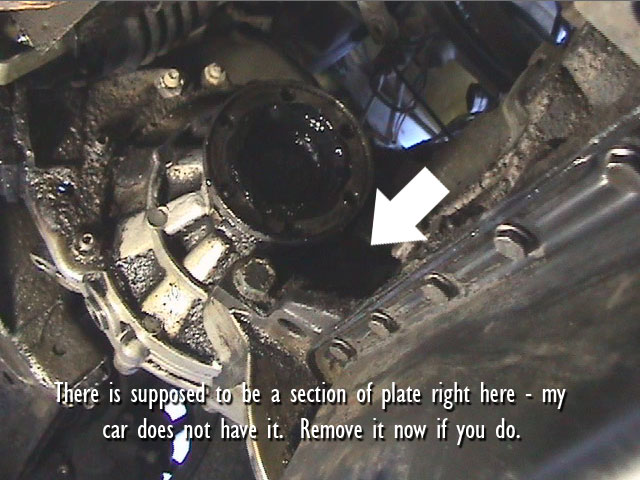
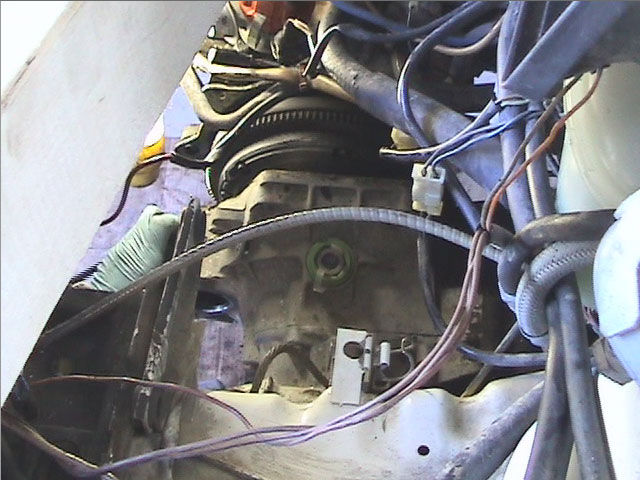
There is a thin piece of plate between the transmission and the engine. There should be two pieces, a small one on the transmission, just to the right of the passenger side output flange, and a large one on the transmission that hangs down to cover the bell housing. Both are attached with 10mm bolts. Remove all you can see now. You can remove the smaller plate.

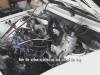
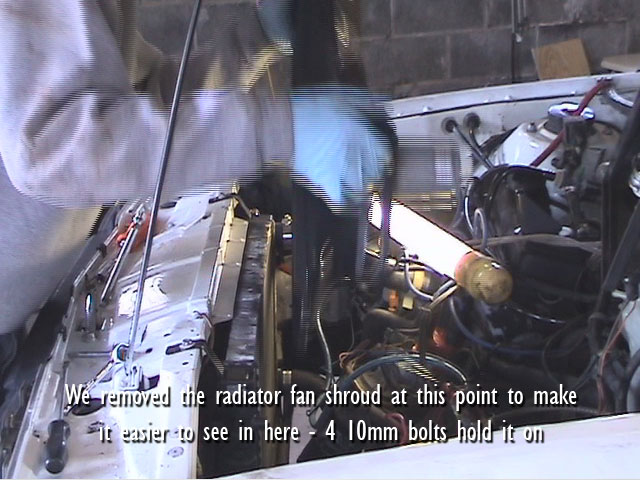
Now, start to loosen your engine to transmission bolts. they are 19mm. We removed the radiator fan shroud at this point to make it easier to work in there.


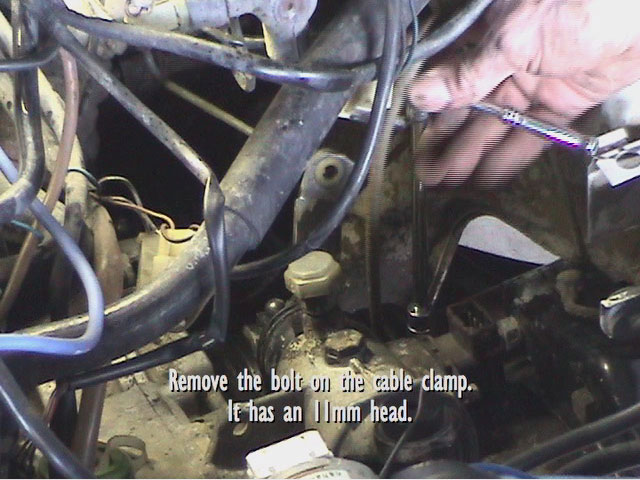
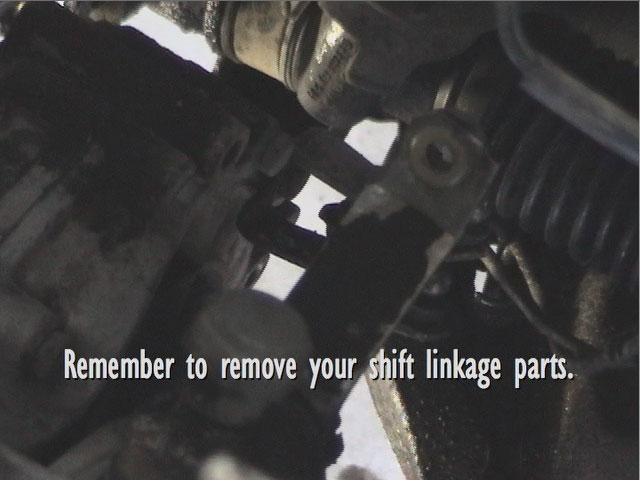
Remove the rear transmission mount. It's easiest to remove the two 17mm nuts from the body, and then the 19mm one that holds the mount to the transmission. We chose to remove the bracket that holds the mount too. Loosen your side transmission bolt, but do not remove it quite yet. Don't forget to remove your shift linkage parts!
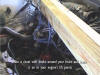

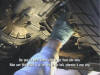
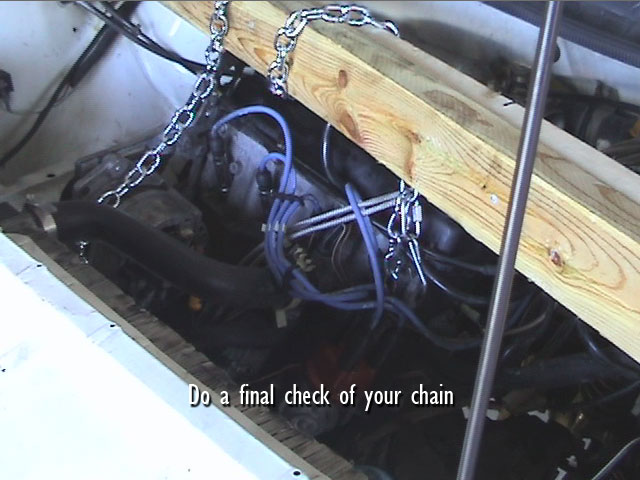
Now get your choice of engine hoist. Ours is a pair of 2x4 studs, nailed together with a chain to hold the engine. It is cut to sit between the fenders - but not on the outside part of the fenders.
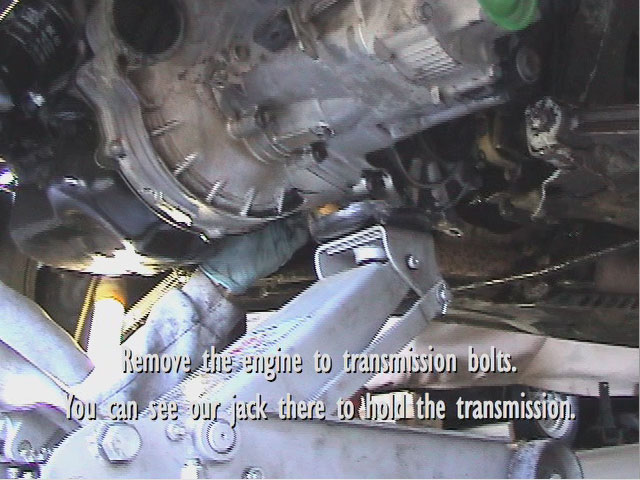
Do a final check to make sure everything is removed. After you have the engine fully supported, put the jack under the transmission and remove the engine to transmission bolts.

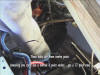
Work the transmission off of the engine with the jack. Be careful not to put pressure on the mainshaft or pushrod so you don't bend them. Remove the transmission.
Working on the Transmission
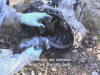
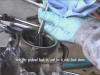
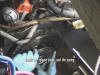
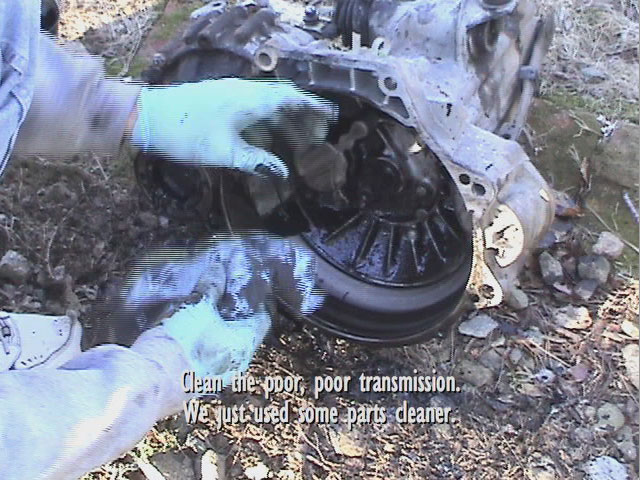
First order of business? CLEAN! My rear main seal had been leaking - so my transmission was very dirty. Clean it out with some parts cleaner or some other degreaser.

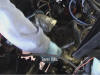
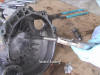
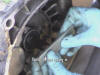
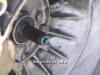
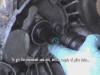
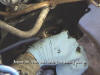
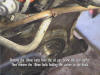
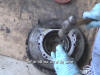
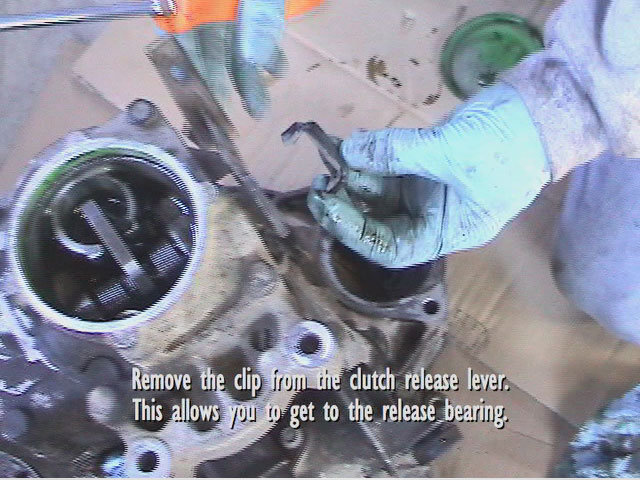
Next, remove the green end cap from the transmission. We used a screwdriver and pliers. This will allow you to access the clutch release bearing (AKA Throw-out bearing). Remove the clip on the clutch lever to let the finger out of the way. Use the clutch pushrod from below to push the old bearing up and out of the transmission.
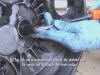
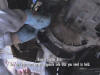
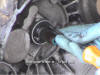
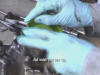
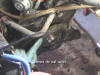
Turn the transmission over. There are two seals and a bushing here you need to replace. First, remove the pushrod seal, the little one on the inside of the mainshaft. We just used a screwdriver. Be careful not to damage the surfaces.

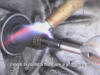
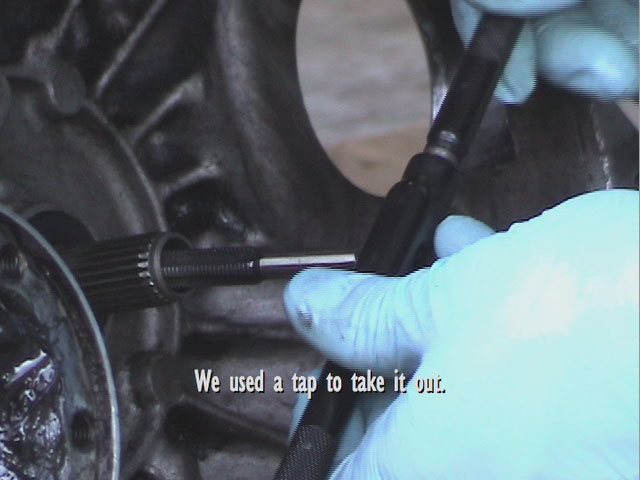
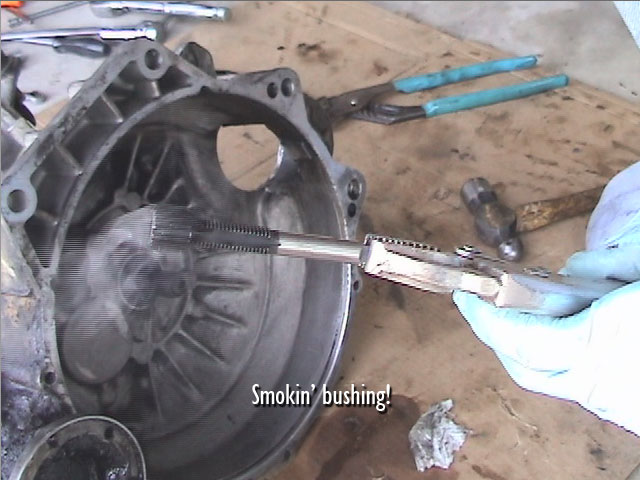
Next comes the brass pushrod busing it is inside the mainshaft behind the seal. There are a couple of different ways of getting this out. Note the distance it is from the end of the mainshaft - you will have to re-install the new bushing in the same place. We used a tap and die to get it out. after we got the tap in, we grabbed it with a vise-grip, and used a torch to heat the mainshaft to help. It pulled right out.
That pushrod bushing is a piece of cake to remove as long as you have the back end of the gearbox open (green cap off). Take out the clutch pushrod and insert a 36" piece of 3/8" unthreaded steel rod. Give the rod a few taps and the bushing pops out the front.

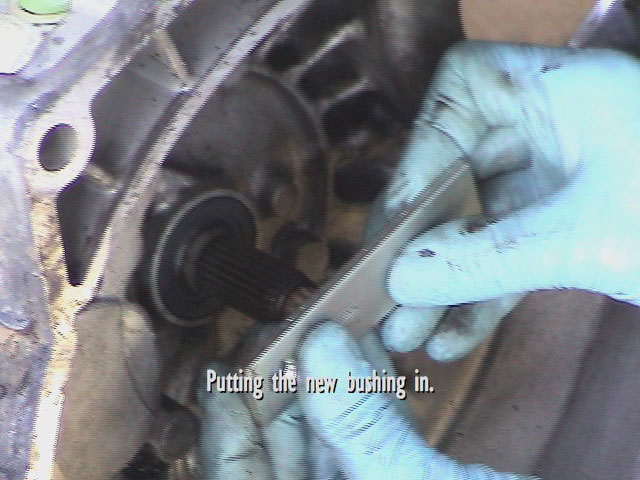
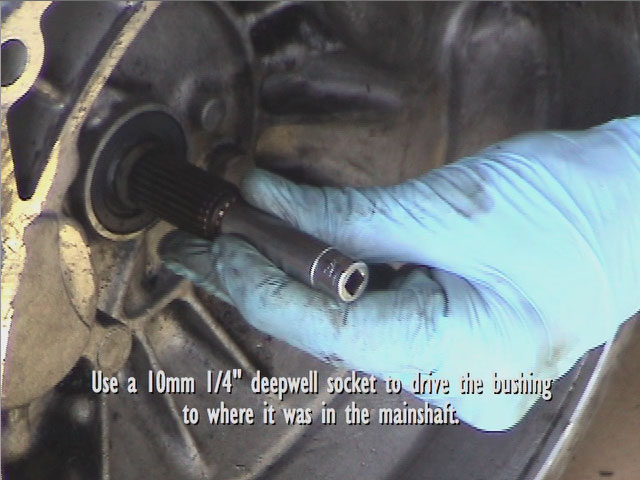
Next, Put the new bushing into the shaft. Tap it in, and use a 10mm 1/4" deep-well socket to set it back in to the depth that the old one was. Now, install the new pushrod seal - we just tapped it in with a flat piece of metal.
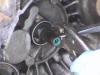

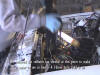
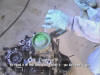
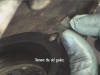
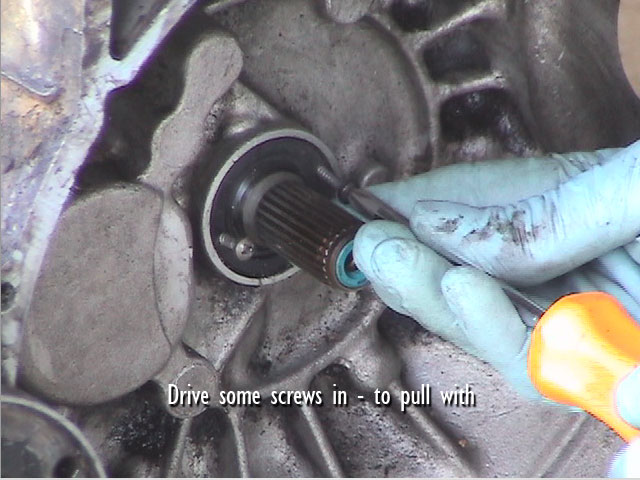
Now time for the mainshaft seal. This is the big black seal. We removed it by drilling pilot holes, and then putting two screws in those holes. Then we just pulled the seal right out with some Vise-Grips.
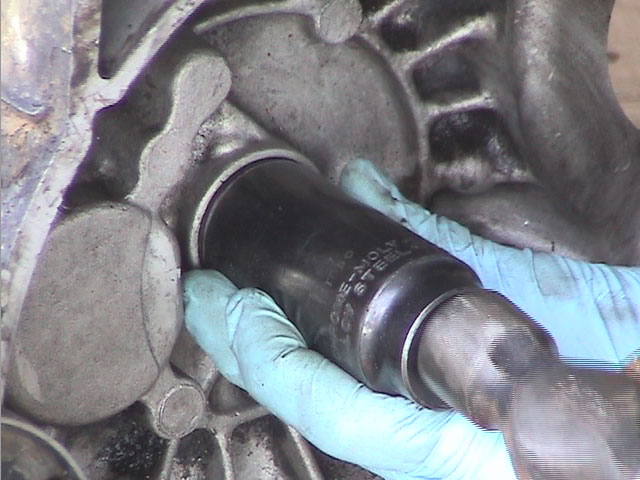
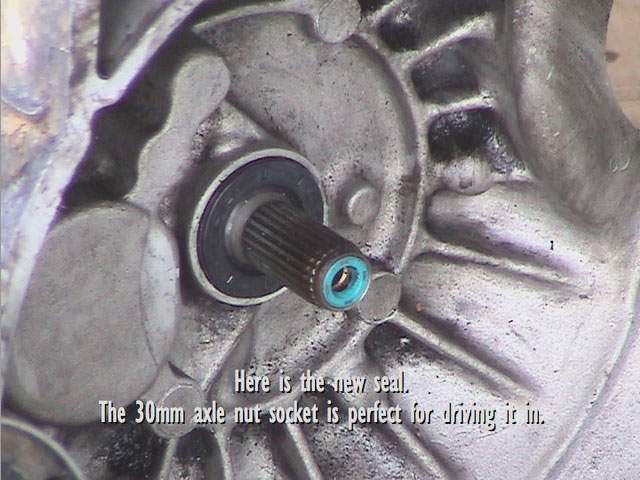
To put the new seal in, the 30mm deep axle nut socket turned out to be the exact right diameter for the seal - so drive it in!
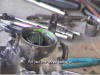
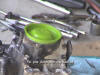
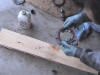
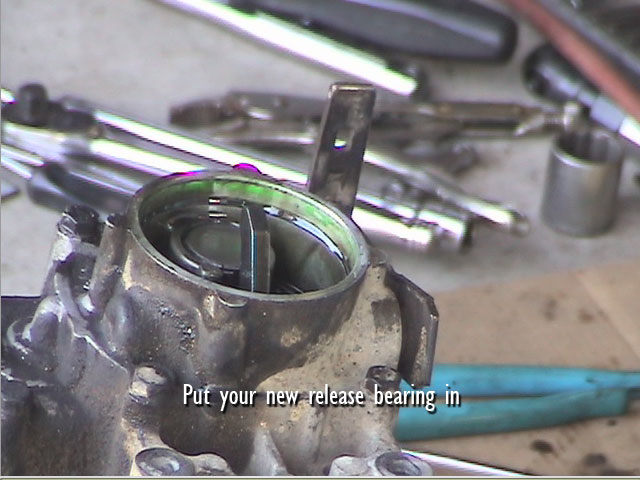
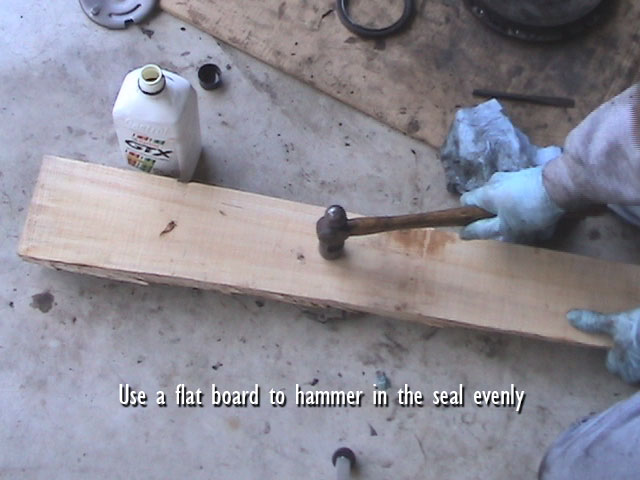
Ok. Flip your transmission back over. Slide the clutch pushrod back in. Then put in the new release bearing. Put the clip back on to the clutch release arm, and then put your new cap on. We used a board to set it in evenly.
Clutch Replacement


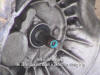
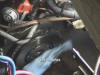
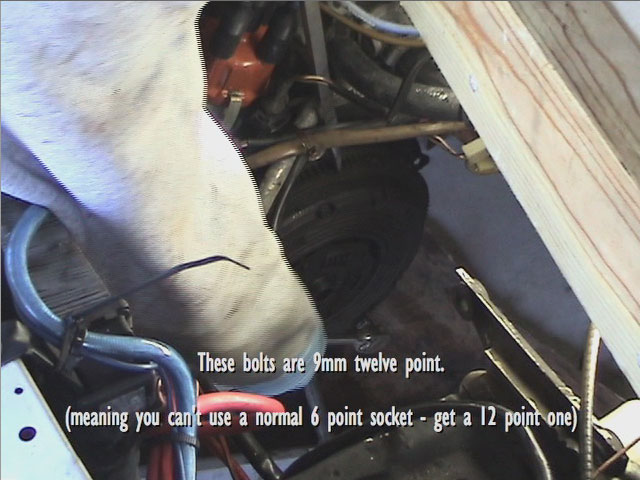
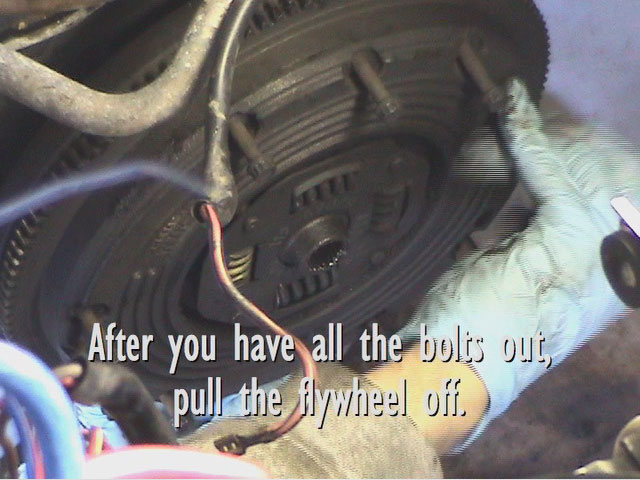
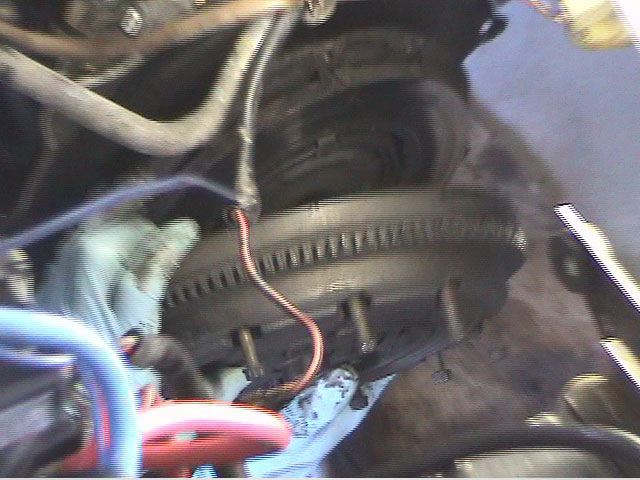
Alright. Get back in the car and work on getting your old clutch out. The bolts on the flywheel are 9mm 12point heads. That means you can use a regular socket on them - but a 12pointed one. Pretty common - but strange to think about when it is written out. Loosen them evenly and work them all out.

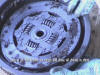
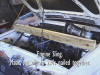
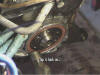
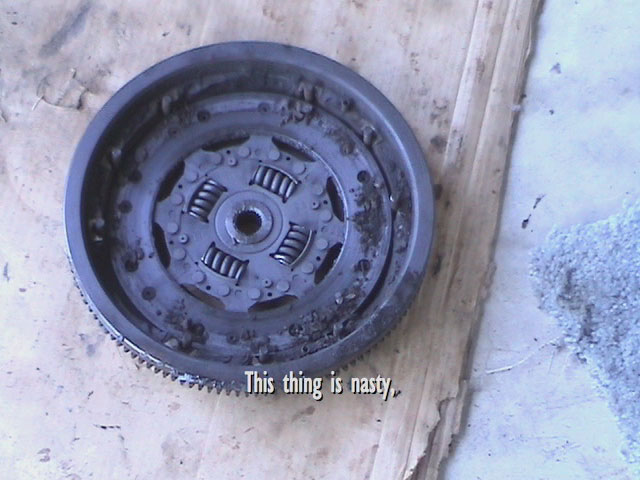
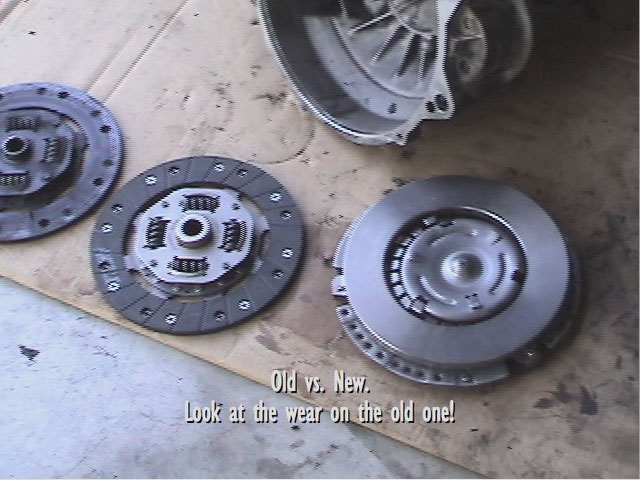
Now, take a look at your old clutch. Mine was real bad - chunks and friction material everywhere.
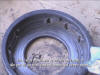
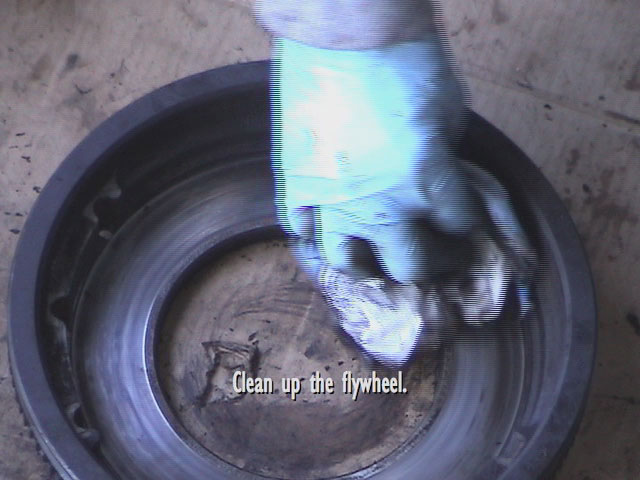
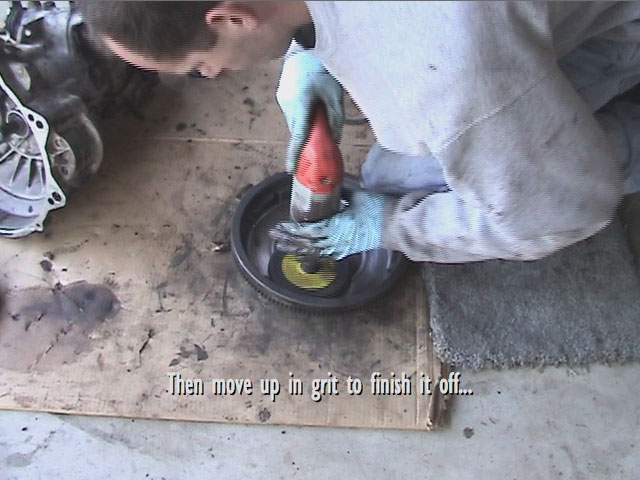
If you bought a new flywheel, substitute it here. If you are going to re-surface yours at a shop - go ahead and take it in now. We decided to resurface it ourselves with a disc sander. You could also do this with just sandpaper by hand if you need to.


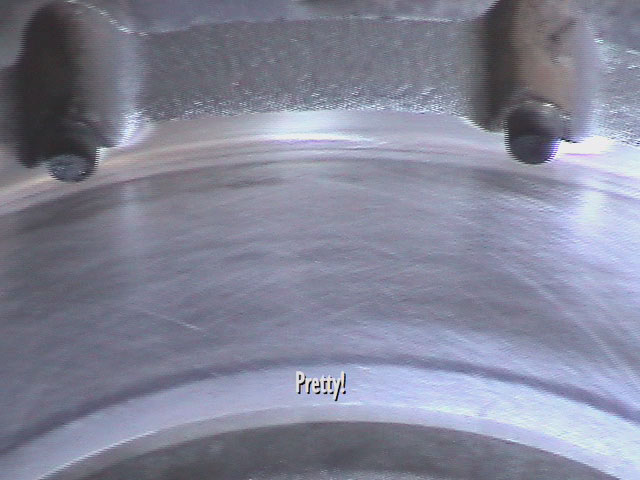
We started out with 60 grit, and worked up to get it smooth and nice-looking again. We even got a bonus cross-hatch pattern there. You can see the old and the new clutch in the last picture there.

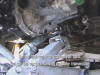
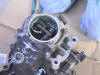
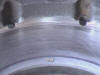
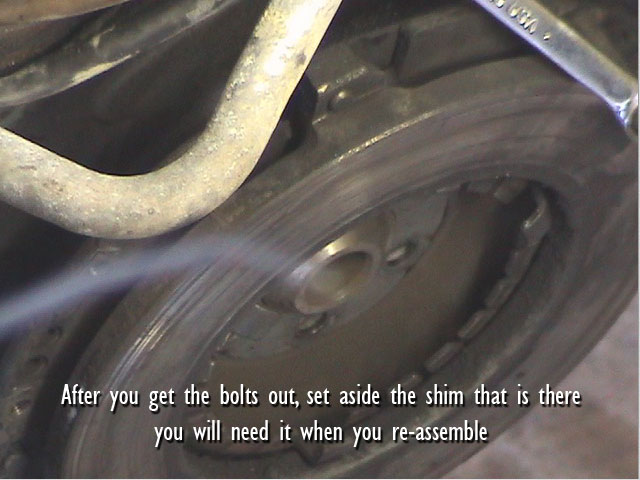
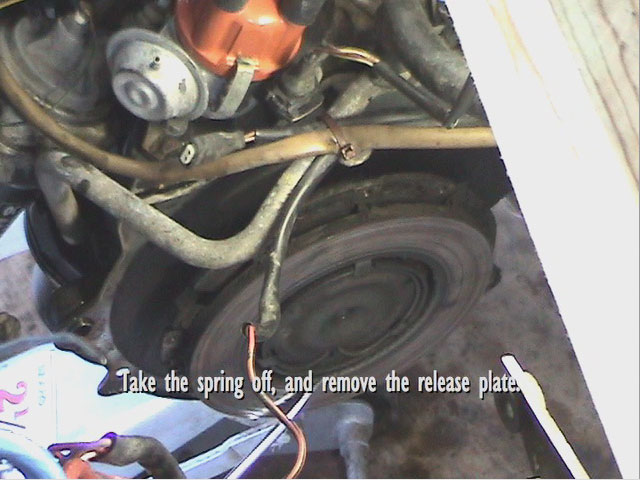
Time to remove the pressure plate from the engine. First, remove the spring from the release plate. It has a lot of tension, and it will go flying. Be careful. Remove your old plate. The plate can sometimes wear through where it gets contacted by the clutch pushrod. Now, remove the bolts holding the pressure plate to the crankshaft. They are 19mm. There is a shim there that you will need to save for re-assembley.
Now you can remove the rest of the shield plate there. The bolts are 10mm.
It's a very good idea to replace the rear main seal - even if yours is not leaking. It is so annoying to replace just this. It's right there.
10mm bolts hold it on. Also, some of the oil pan bolts are bolted into it. Remove them as well to be able to remove the seal carrier. Scrape your old gasket off.

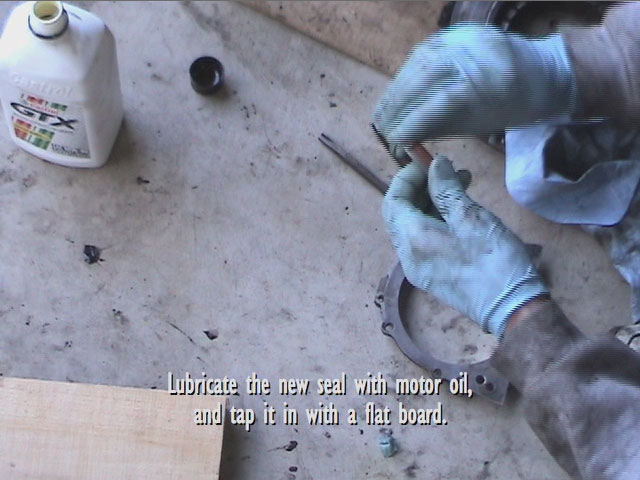
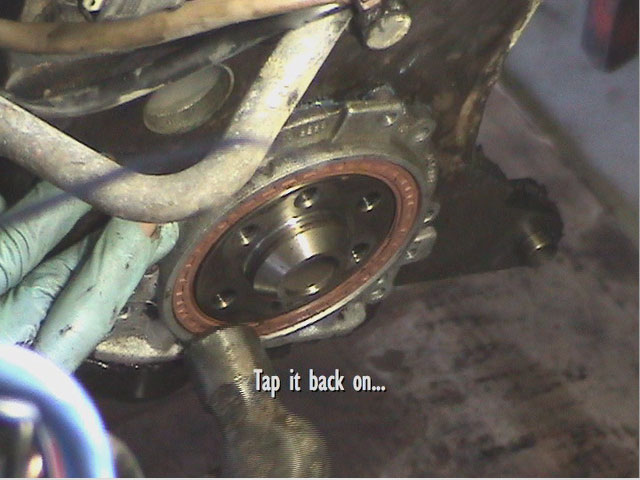
Now you can remove the old seal from the seal carrier and clean the carrier. Lubricate the new seal and drive it in to the same spot the old one was. We used a board to do this.
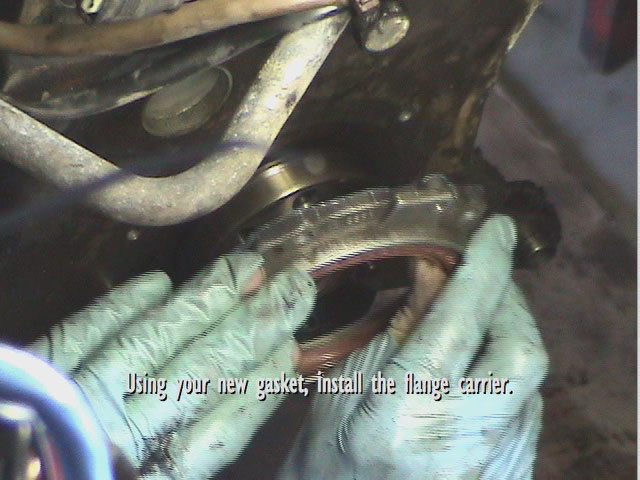
Next, put the seal carrier back on the engine with it's new gasket, It's a little bit challenging getting it on there - so use some motor oil to lubricate the seal. Now, re-attach your plate (you did clean it, right?). 10mm bolts hold it on.


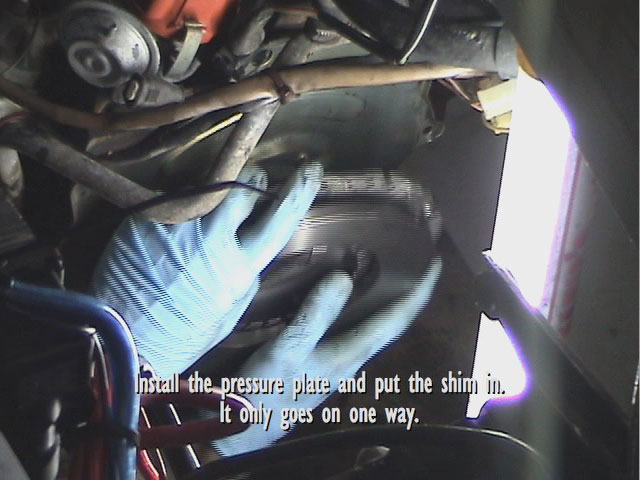
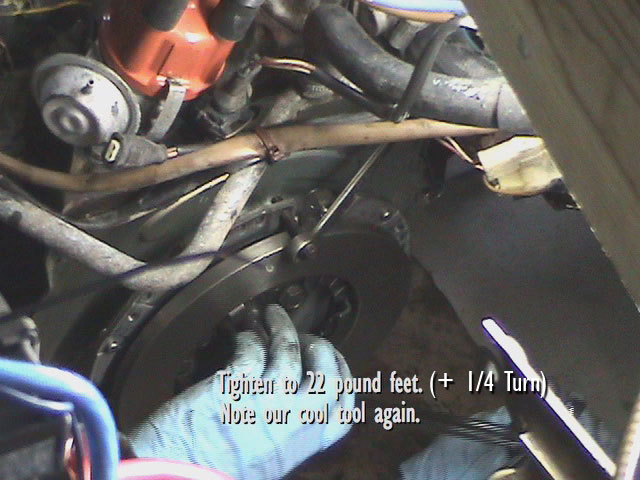
Now you can put on your new pressure plate, remember the shim. Use your new bolts here, and torque them to 22 foot-pounds Plus 1/4 turn. Next, install your new release plate and spring. Then, clean the plate before the next step.
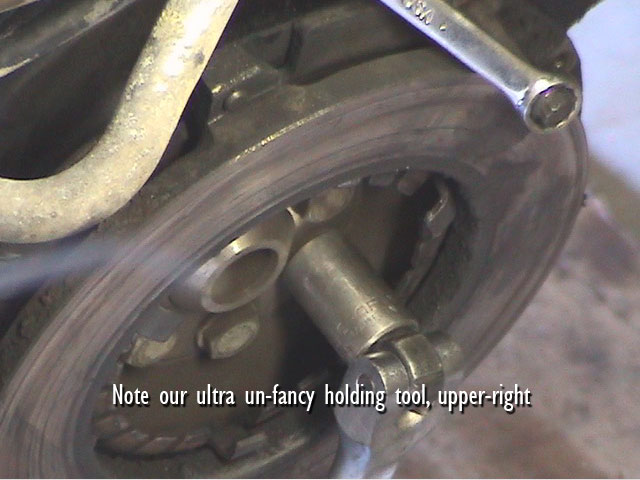
Next, put the new clutch into the flywheel. When putting the flywheel on, be sure to align the pins in the flywheel with the holes in the pressure plate before installing the 9 bolts. Put some of the new bolts in to hold the flywheel on. Get your centering tool, and put in on the clutch. Keep it there while while you tighten the bolts. tighten them evenly, in a star pattern. The bolts should be tightened to 15 foot pounds.
Putting it Back Together

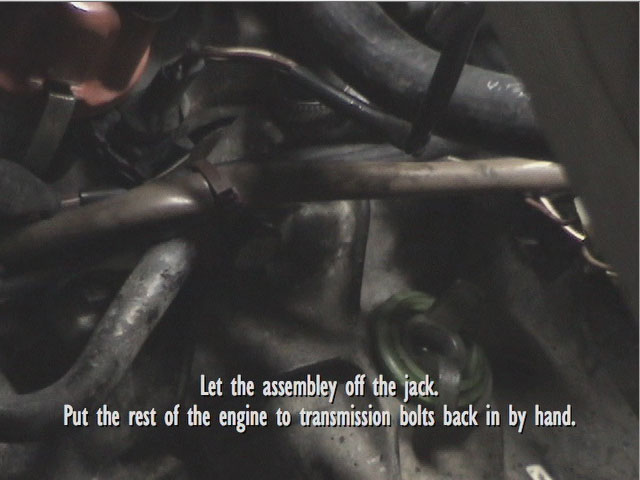
When jacking up the transmission to put it back in (use a floor jack), line up the two holes on the rear mount (beneath the gas pedal) first and put on one or two of the nuts. Then work on getting the input shaft lined up in the clutch disk. This makes the task much easier; you don't have to balance the whole weight of the transmission on the floor jack while trying to align the trans and the clutch. Torque the engine to transmission bolts to 59 foot pounds.
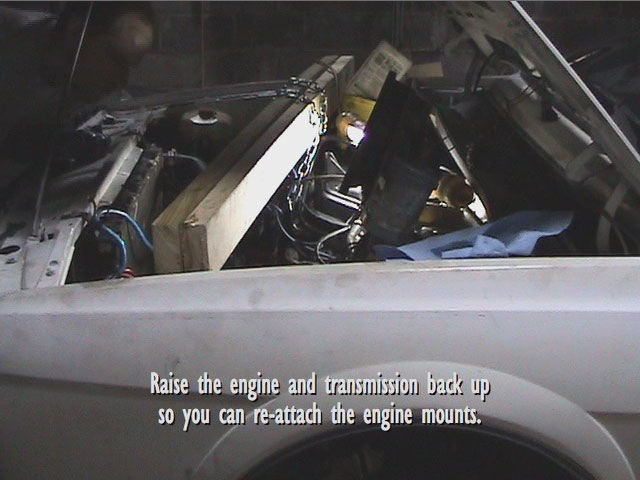
Raise the engine/transmission unit back up to bolt up your engine mounts again. If you got new mounts - install them now.

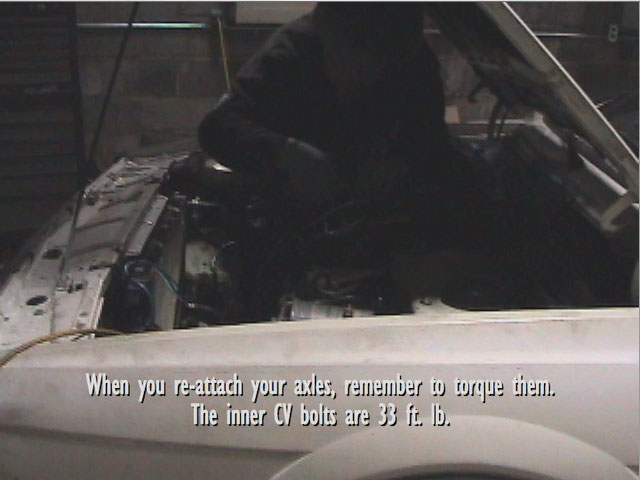
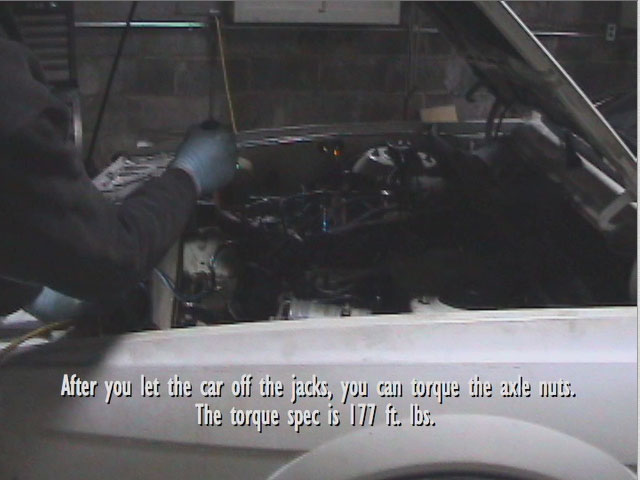
Bolt up the axles again. Torque the bolts to 33 foot pounds. After you get the axles back on, put your new axle nuts on the ends of the axles and let your car down off of the jack stands. The axle nuts can now be torqued to their full 177 foot pounds.
Add new oil in the transmission. I used Valvoline 80W90. Be sure to use exactly the right amount of trans lube. Not enough oil leaves 5th gear (the highest up in the transmission) dry. Too much oil could force lube out one of the mainshaft seal onto the clutch. Exactly 2.2 quarts on most VW transmissions; check your Bentley to be sure.
Now is a great time to install a new shifter bushing kit - it will really clean up the shifting action.
Install your clutch cable, and just bolt everything else back up.
Go for a test drive. See how the clutch feels. Congrats!! You are done.
Comment on this Techtip[Back to Top] [Index] [VWC Forums] [Contact/Donate]
Remember, If you need help with any of these technotes -Contact Me!
We are not responsible for damages caused while following the directions in these pages. These pages are for informational use only.
This site is in no way affiliated with or endorsed by Volkswagen of America or VW AG. Volkswagen and the VW logo are registered trademarks of Volkswagen
AG. To visit the official Volkswagen sites go to Volkswagen Germany
or VW of America.
All original images and content Copyright © 2001-2005 Eric Soltwedel, Tim McConnell and vintagewatercooleds.com, all rights reserved.
Not all of the pages comply with the new standards yet. I have the links here for debugging purposes.
![]()
![]()
![]()
About the Standards and Scripts